
Hello friends and happy Tuesday. My husband and I just returned from an overnight trip to Nashville. About every four months Mark has to go to Nashville to see his kidney doctor or an NP to check on how well the transplanted kidney is doing. The doctor visit and bloodwork lasts approximately thirty minutes or so but the drive over and back is about four hours each way. Several months ago we started going over the day before. We leave in the afternoon, take our time, have a great dinner out, spend the night and have the doctors’ visit early the next morning and then start home. This is so much better. We are not exhausted the way we used to be when we tried to do it all in one day.
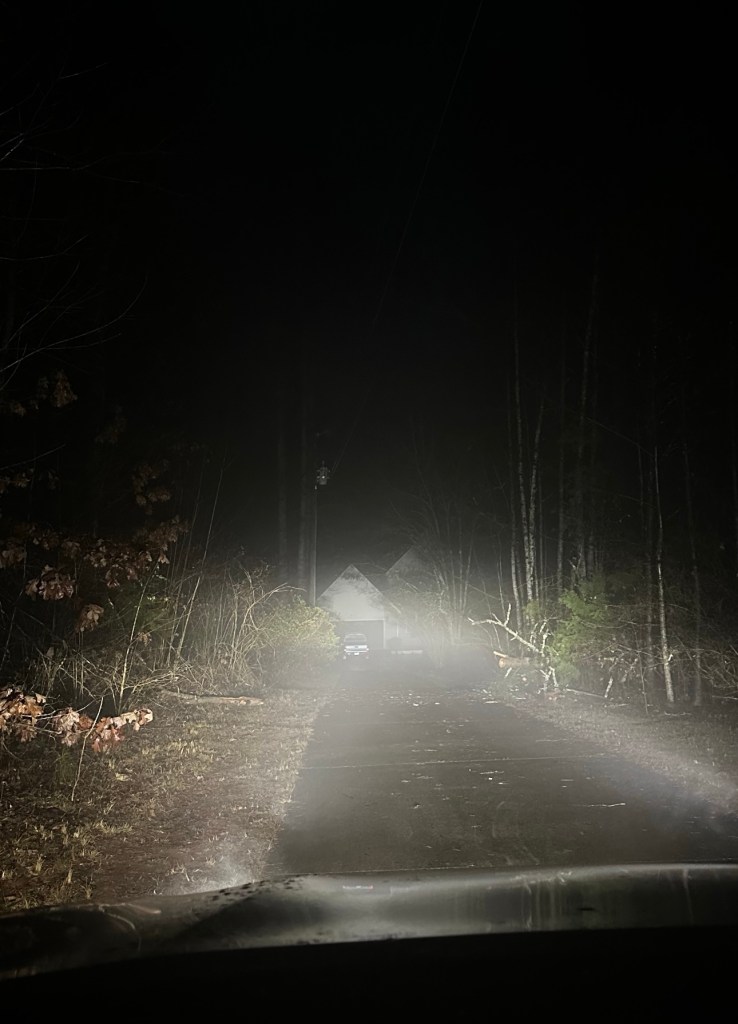
So yesterday was our day to drive to Nashville. It was eclipse day. Our area was only going to see a partial eclipse this time. Some areas had better luck than others. We were driving so we really didn’t get to see totality. As I said it was a bit of a disappointment anyway because it was just too cloudy. It did get very dark and of course that is exciting in the middle of the afternoon. We had a great dinner in Nashville and went to bed early and got a good night’s sleep.

On our way home today we stopped at the Cracker Barrel in Lebanon for breakfast. If you don’t have Cracker Barrel’s in your area, you just don’t know what you are missing. It is mostly southern cooking and it is really yummy. There is also a wonderful gift shop and as luck would have it I had a gift card, that was given to me at Christmas. This is what I bought. It was also 50% off so it was quite a bargain. I have a thing for cake stands and I have quite a few of them. I try to refrain from buying more because I just don’t have anywhere to keep them. I will probably keep this one on my table.

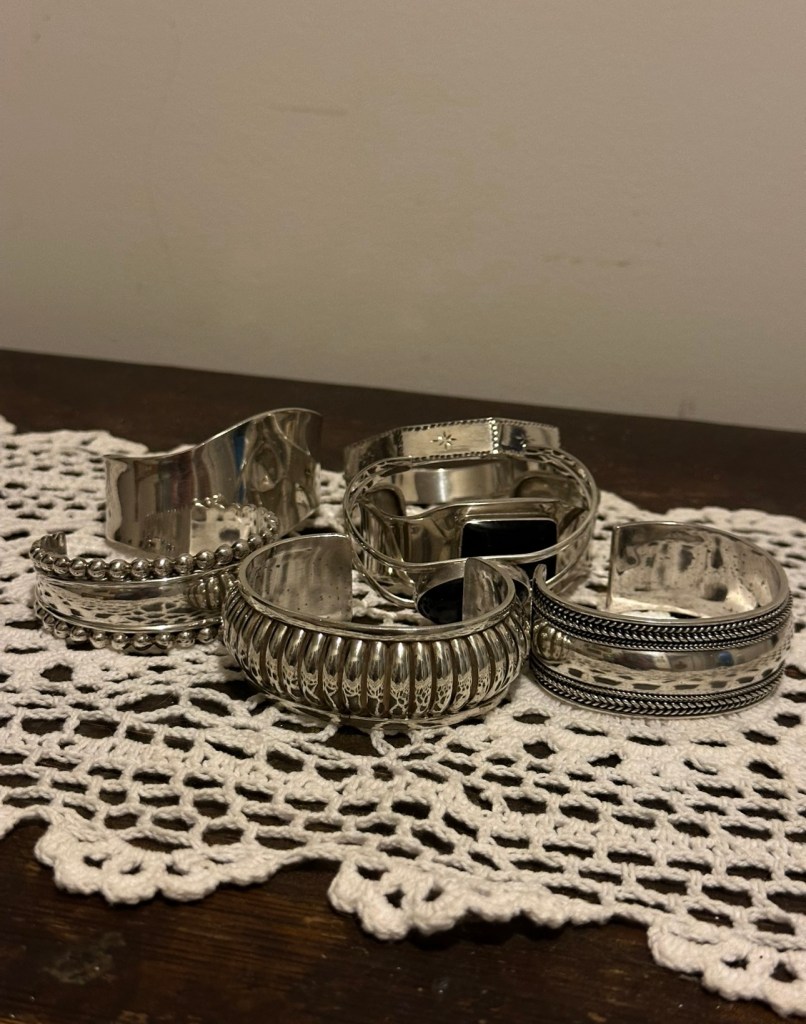
My sister and I did a little shopping on Saturday. We hadn’t been out together in several weeks. We thought some retail therapy would do us both a bit of good. We went to T. J. Maxx in Cleveland. Cleveland is just south of us about forty miles. It’s not quite as crazy as Knoxville on a Saturday.

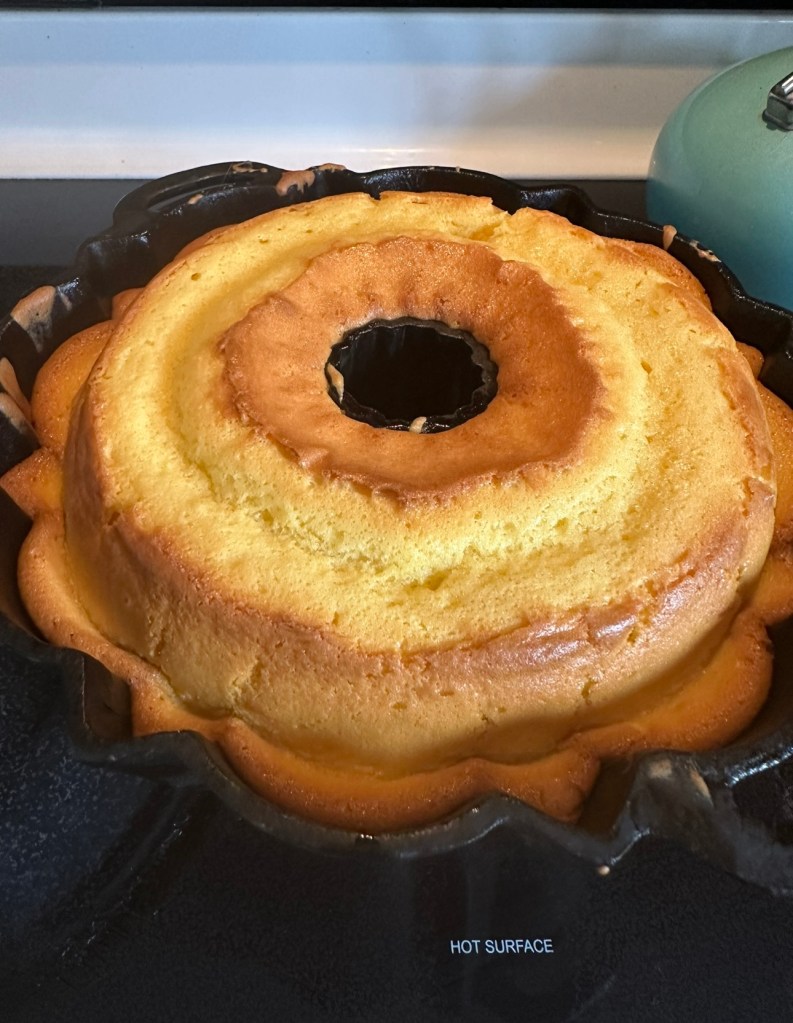
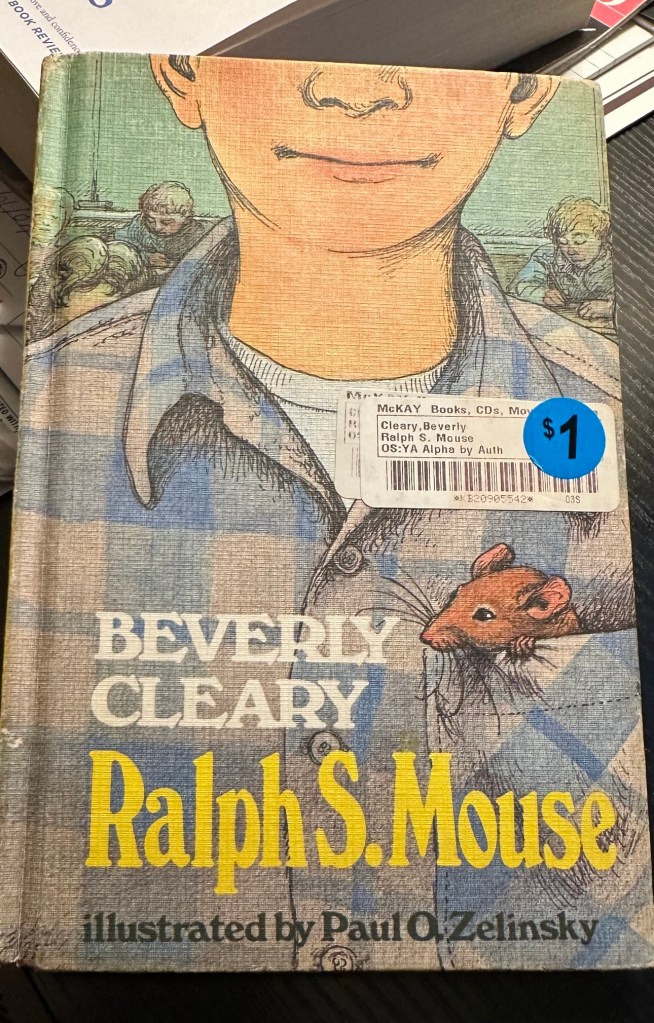
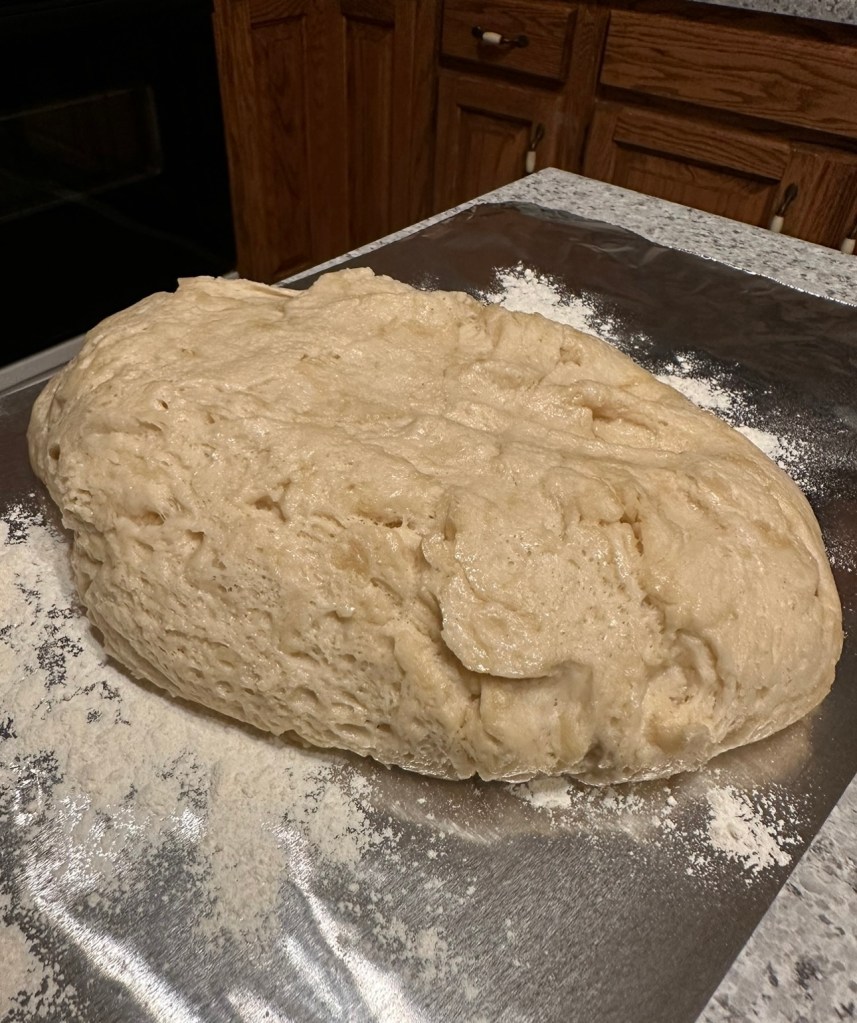
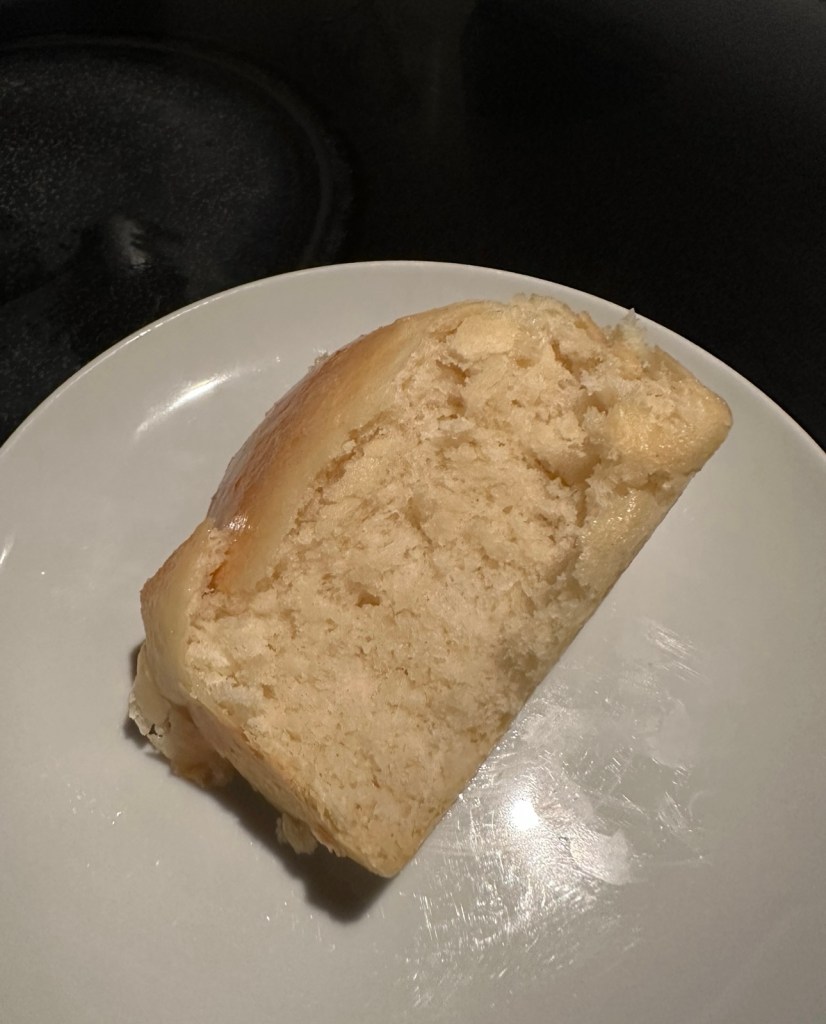
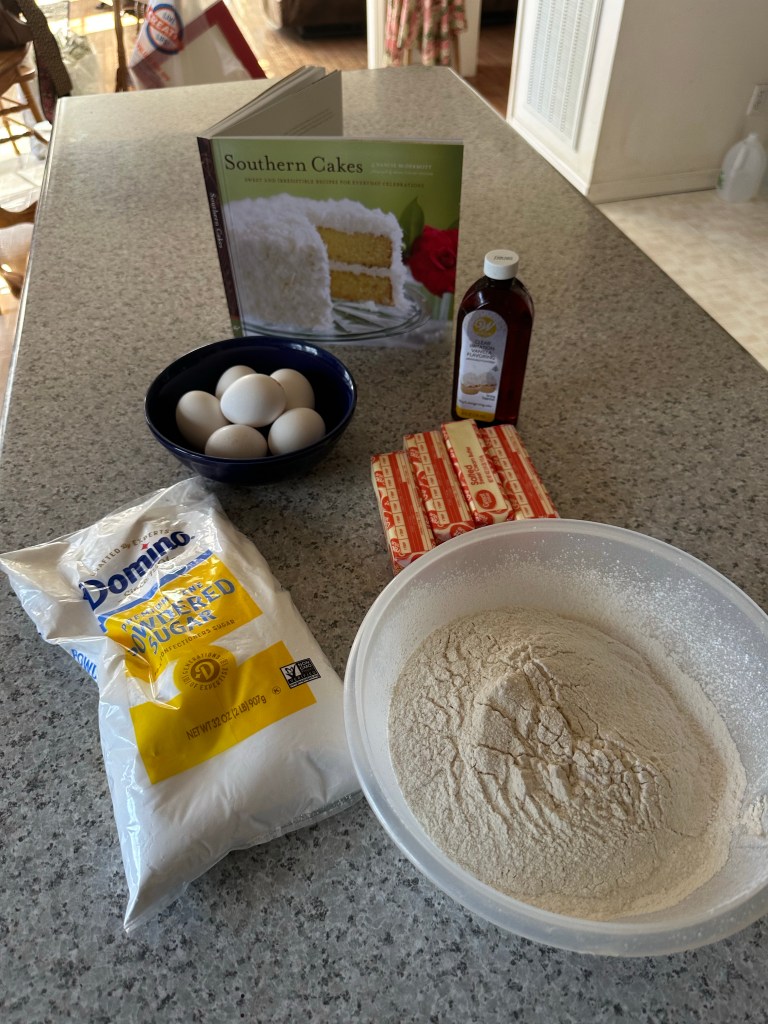
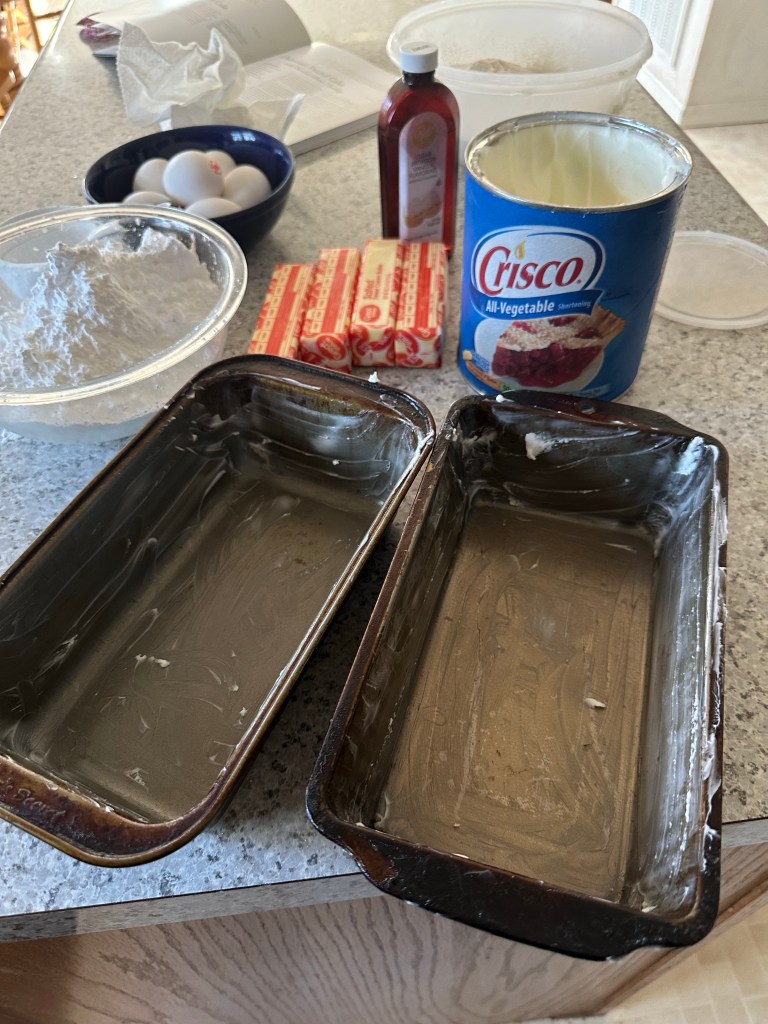
Now for the pound cake. Remember this book I bought when I was in Nashville a couple of weeks ago? My plan was to make each of the cakes in this book, there’s sixty cake recipes. The first cake was a classic southern pound cake. So on Sunday afternoon I got to work.


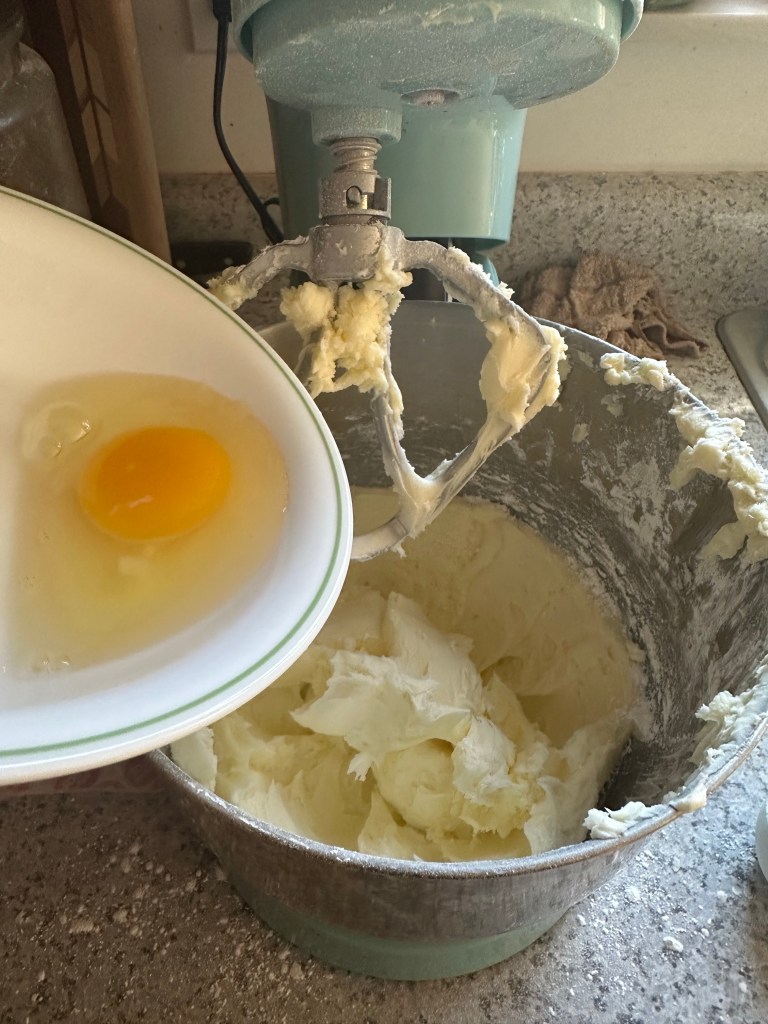
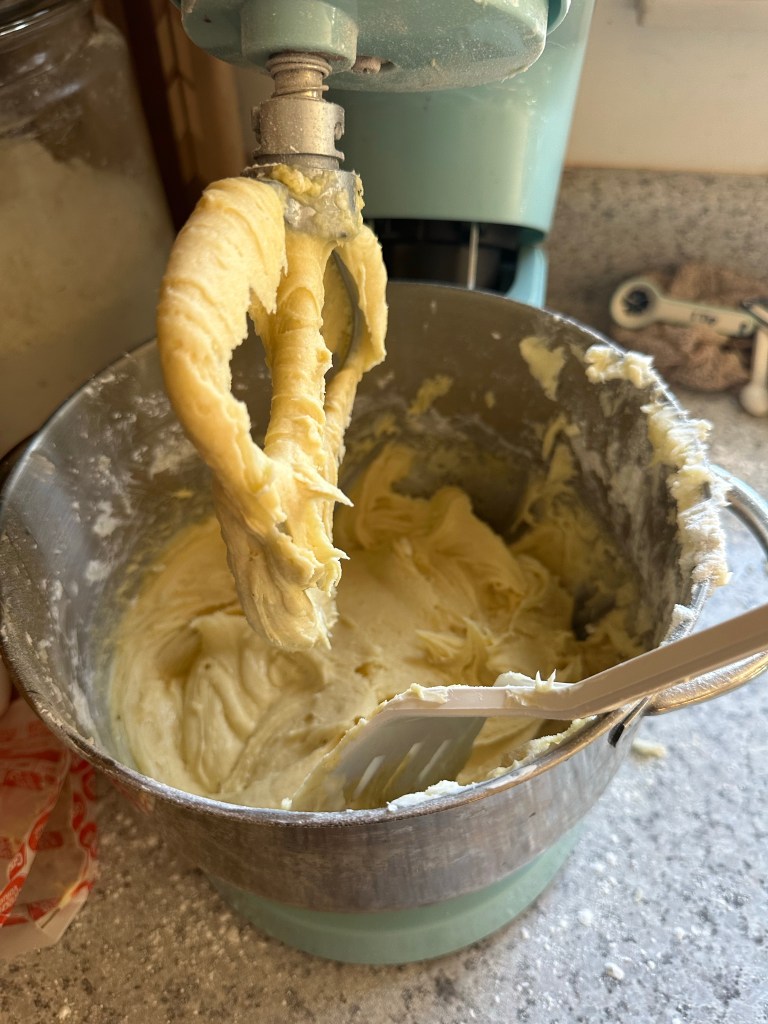

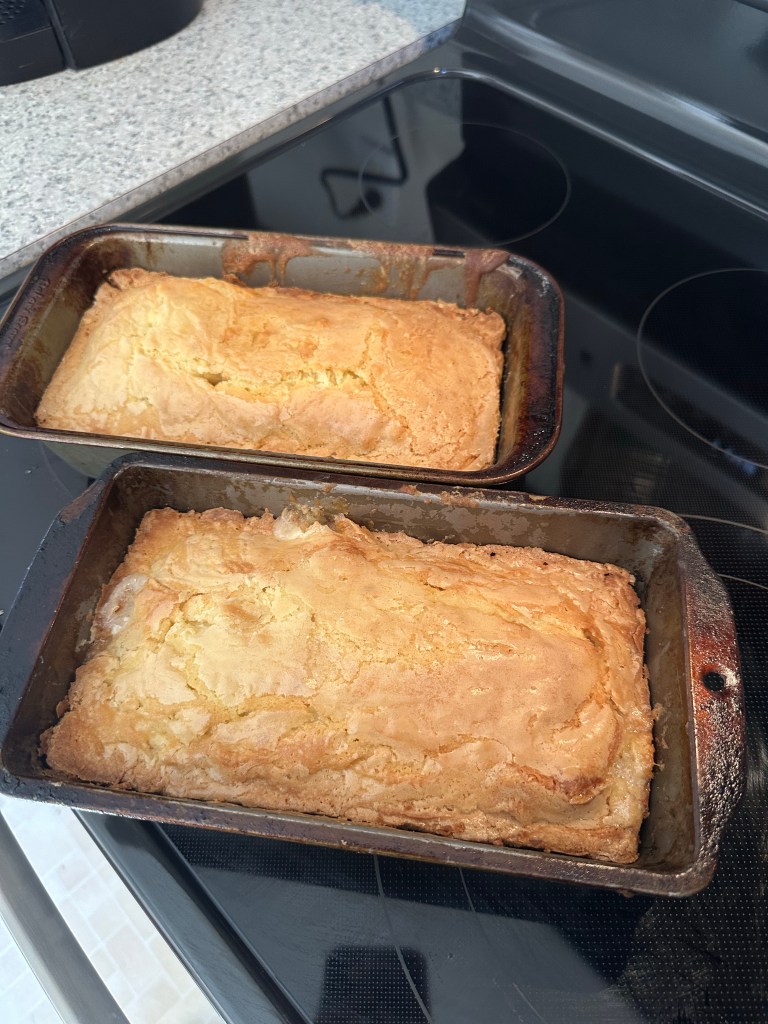
They were terrible!!!! I could have used them as a weapon. They were hard and so dense. I googled possible problems and it seems as though I may have beat the batter too much. Over beating can cause gluten to form and this can make the cake really dense.
I was so disappointed that my pound cake turned out so bad. I did learn that maybe I shouldn’t beat the batter too much next time. If you have any advice on how to make better pound cakes, and not turn them into weapons of destruction or door stops please let me know. The next cake is a chocolate pound cake, so we shall see.
That is what has been happening around here how about you?
Always remember
Love your day your way!!!