
Hello friends how was your week and weekend? Last week I went with my sister to Knoxville and we picked up little Sadie’s ashes. It was a very small box. She had lost so much weight. A sad time for sure. It makes me so paranoid about all the other fur babies.
The weekend was good. My sister, nephew and I went to the Mennonite farm market for the first time this season. They have just opened and they still haven’t got a lot of veggies in yet. They did have some beautiful strawberries. I have never been a big strawberry fan so I didn’t buy any. I started to get some for freezer jam but I knew I probably wouldn’t get around to it before the strawberries went bad.
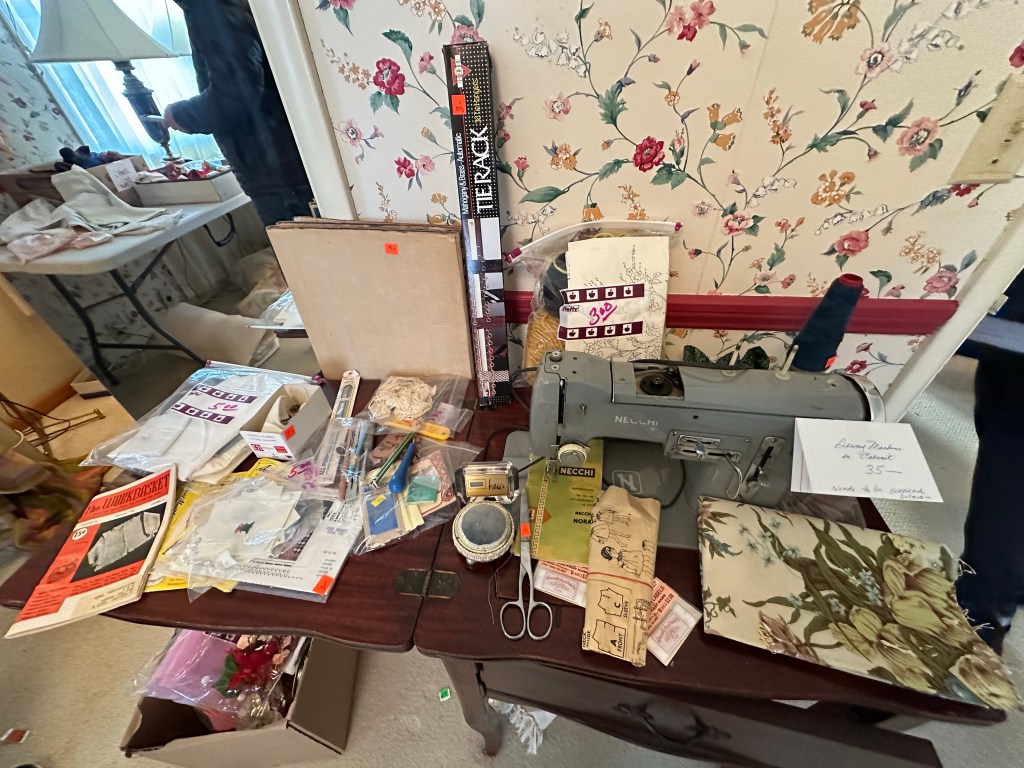
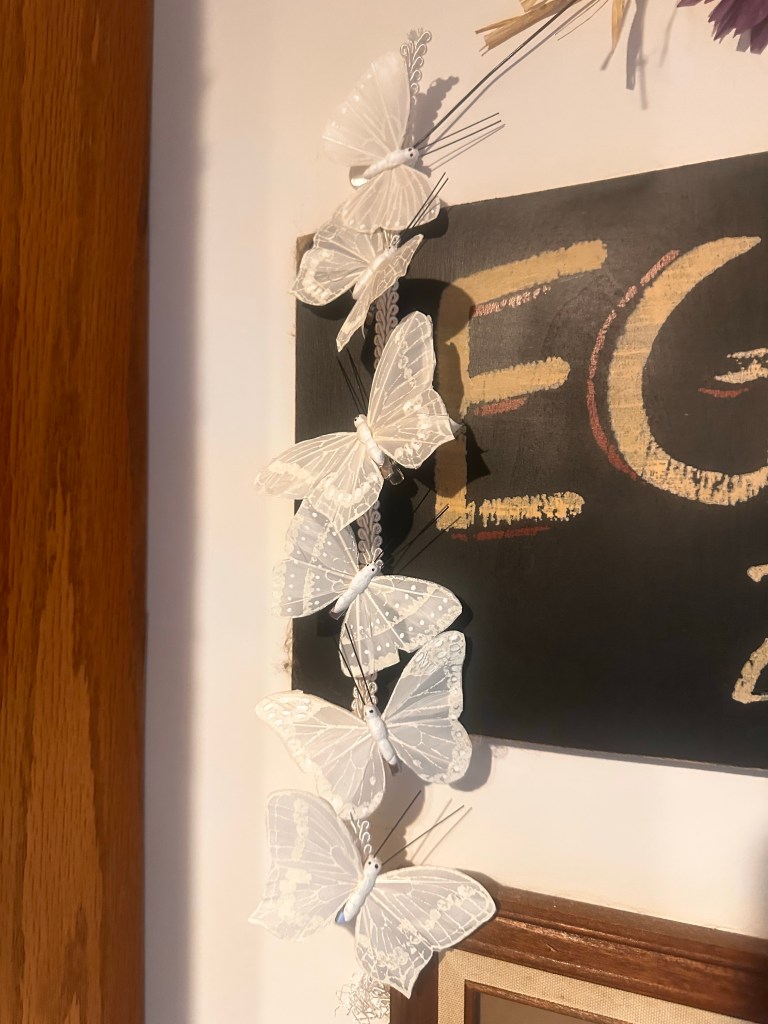
We also visited a couple of local antique stores while we were in the town of Tellico Plains. Whew!! a little too rich for my budget in several of the shops. We did stop in at a little shop where the owner also does interior decorating. It was just a lovely shop. I bought these little butterflies to hang. I started to put them on a curtain but hung them on this sign instead.
Sunday was a bit of a lazy day for me. Weekends are really hard for me because they were always so special to me and my husband. Last week was my birthday and our 36th wedding anniversary. I got through it but it was pretty hard.
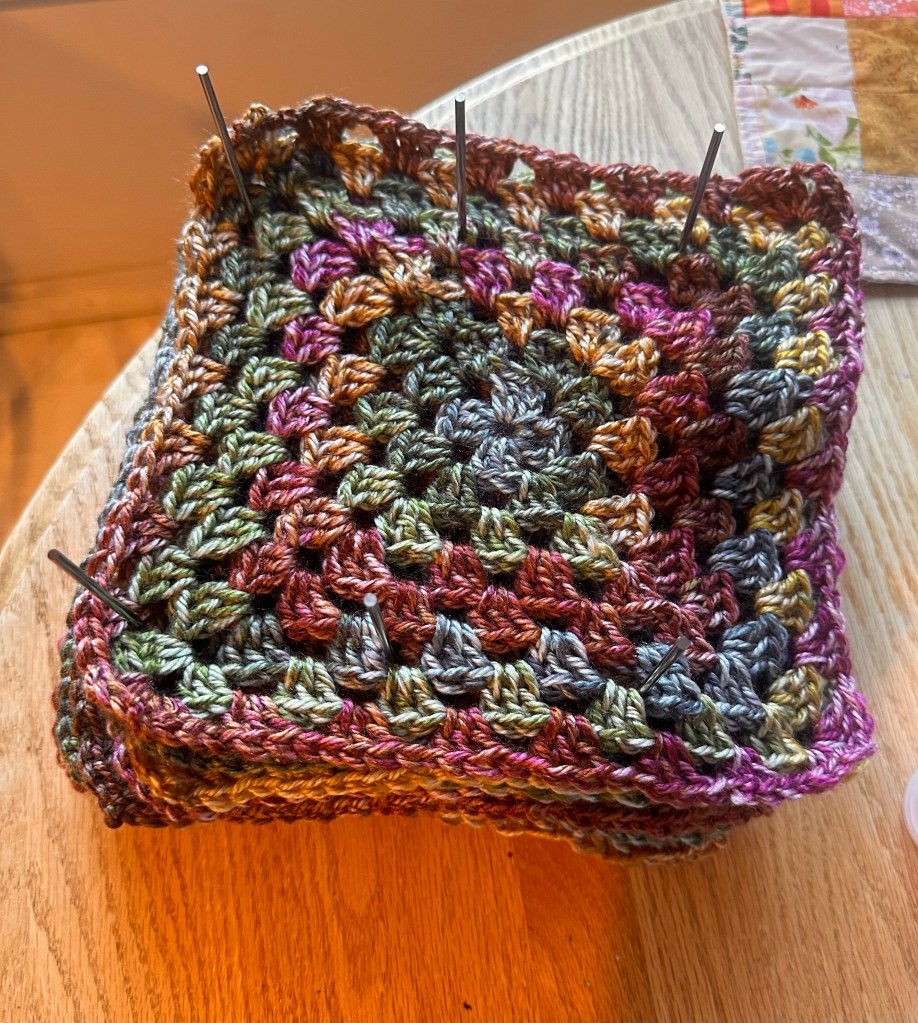
I have been crocheting a cardigan. I am making the panels and will put them all together. Hopefully soon. I spent most of the morning yesterday working on that while I listened to an audio book. The babies sleep all day. It is their favorite sleeping time. They occasionally look up at me with sleepy eyes and go right back to their napping.
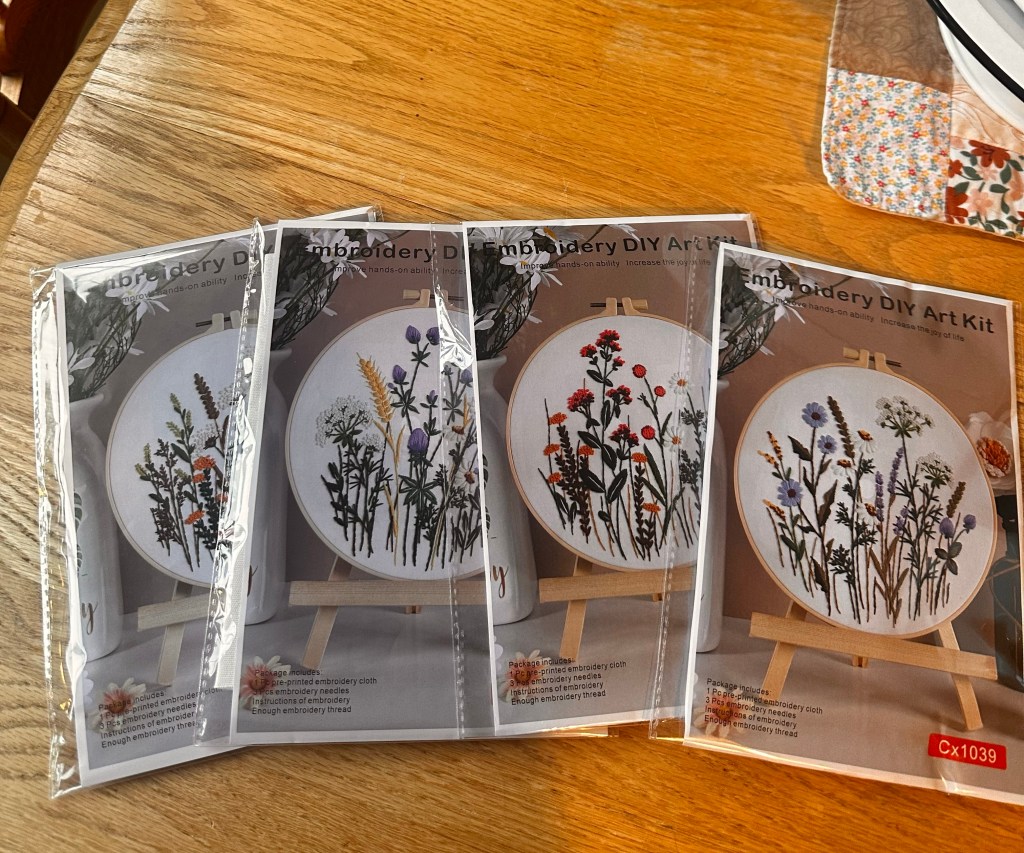
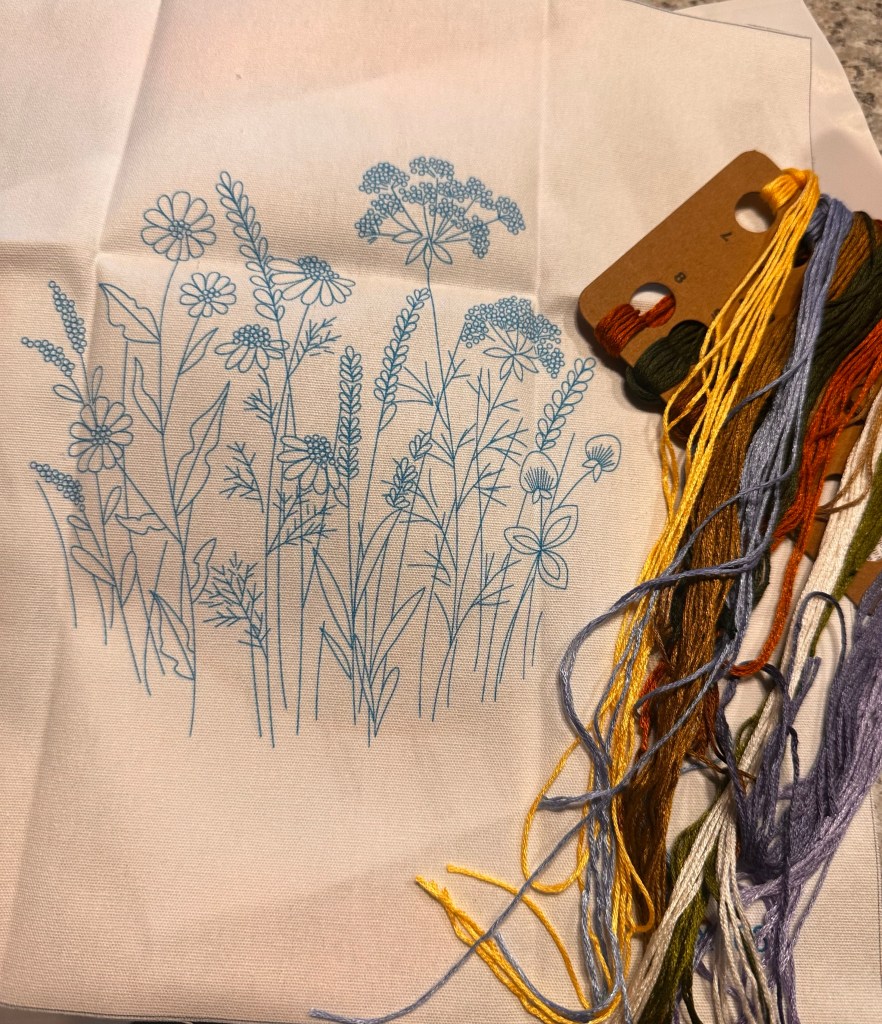
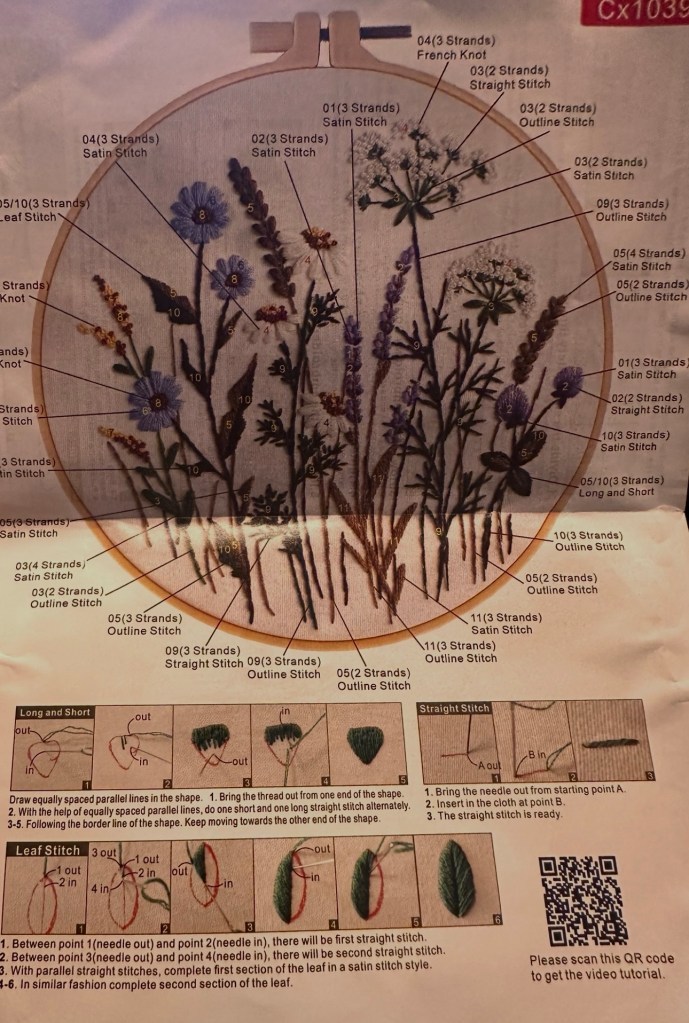
Along with cheating on my knitting with crochet I have also been watching a lot of needle point videos. Needle point is really hot right now. I still prefer cross stitch and embroidery. I ordered these stamped embroidery kits from Amazon and was really pleased with them. I got all four stamped patterns and thread and a hoop for $20.00.
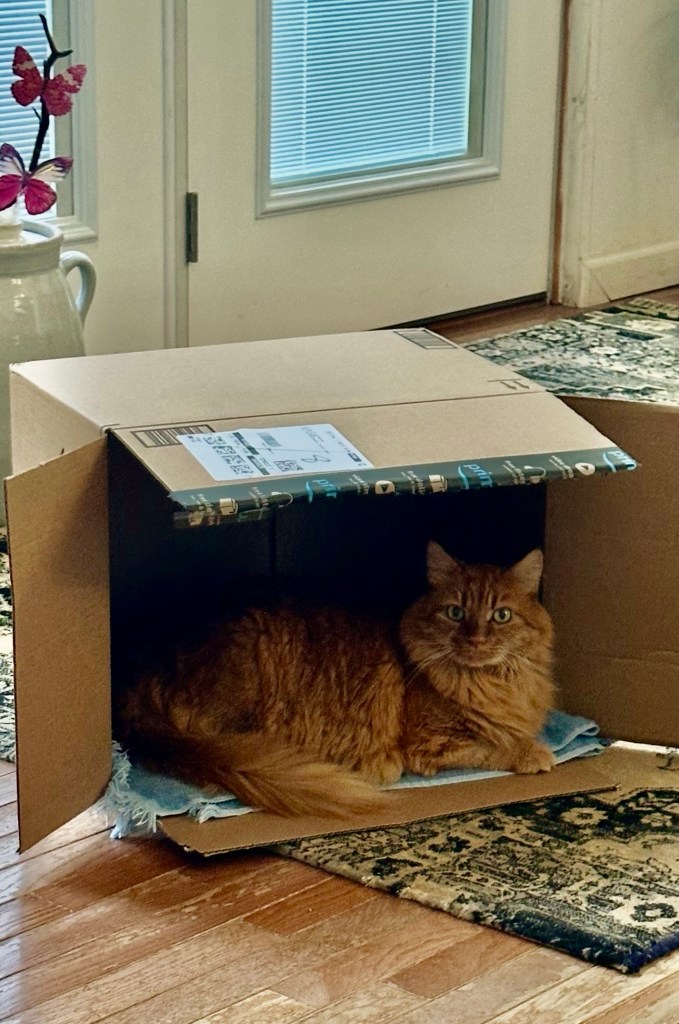
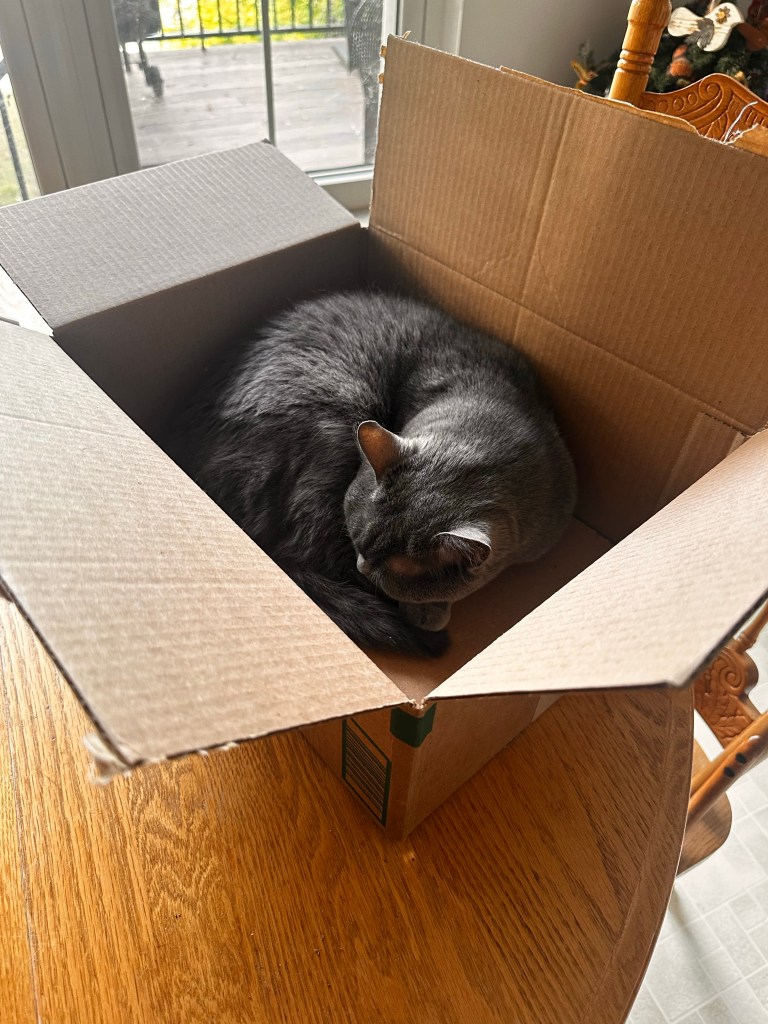
Of course Kitty Kitty is enjoying the box from Amazon.
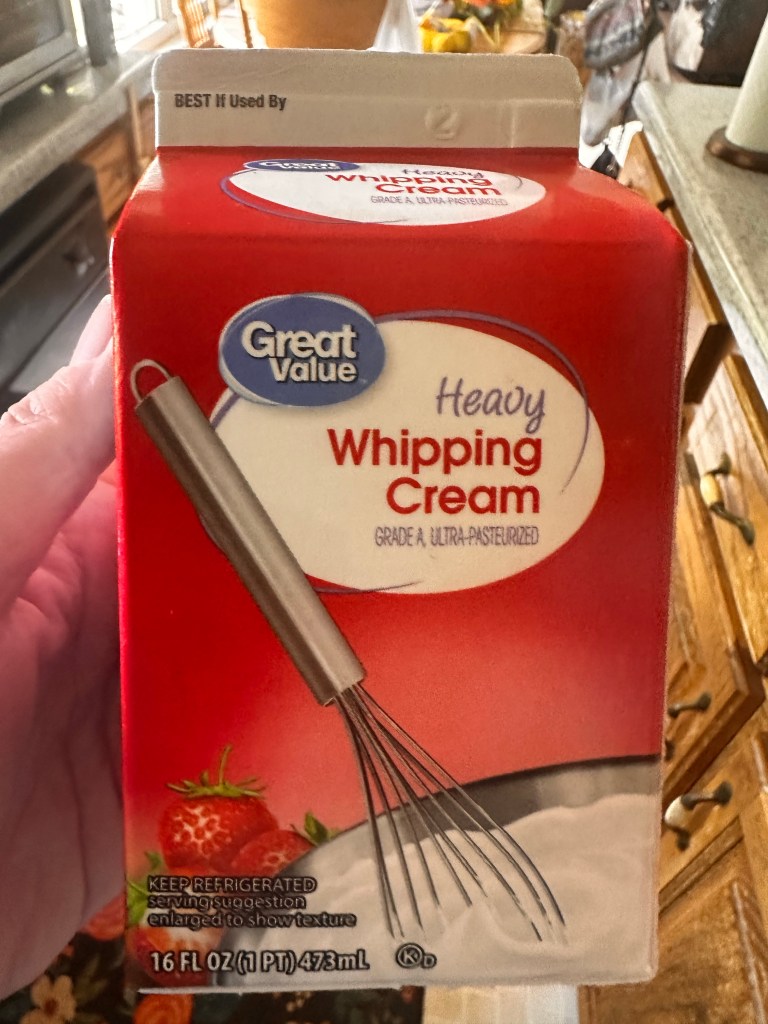
Have you seen the videos of people making butter from heavy whipping cream? I decided yesterday to give it a try. This is the brand I used from Walmart but any heavy whipping cream will do.
Put the cream in a stand mixer with the whisk attachment. Start the mixer on medium speed. This entire process will take about 15 minutes. You can also use a hand mixer if you don’t mind holding the mixer the entire time. I think it’s interesting that this is the way people churned butter many years ago. They would collect the heavy cream from the milk from their cows and put it in a butter churn. It took much longer than 15 minutes.
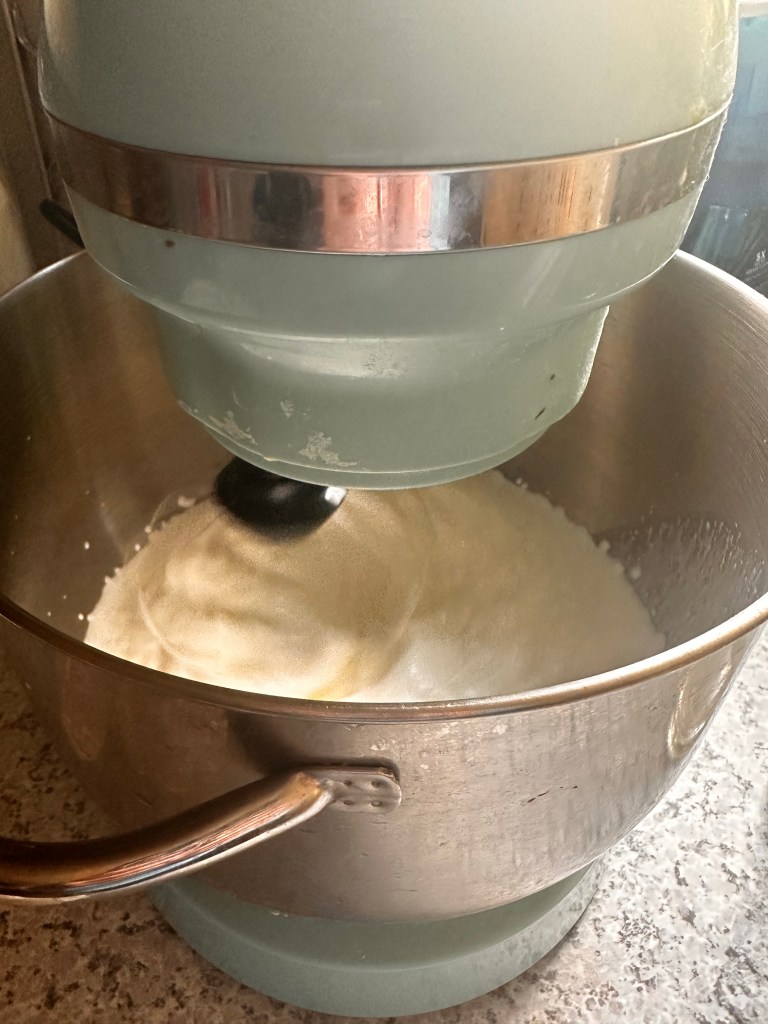
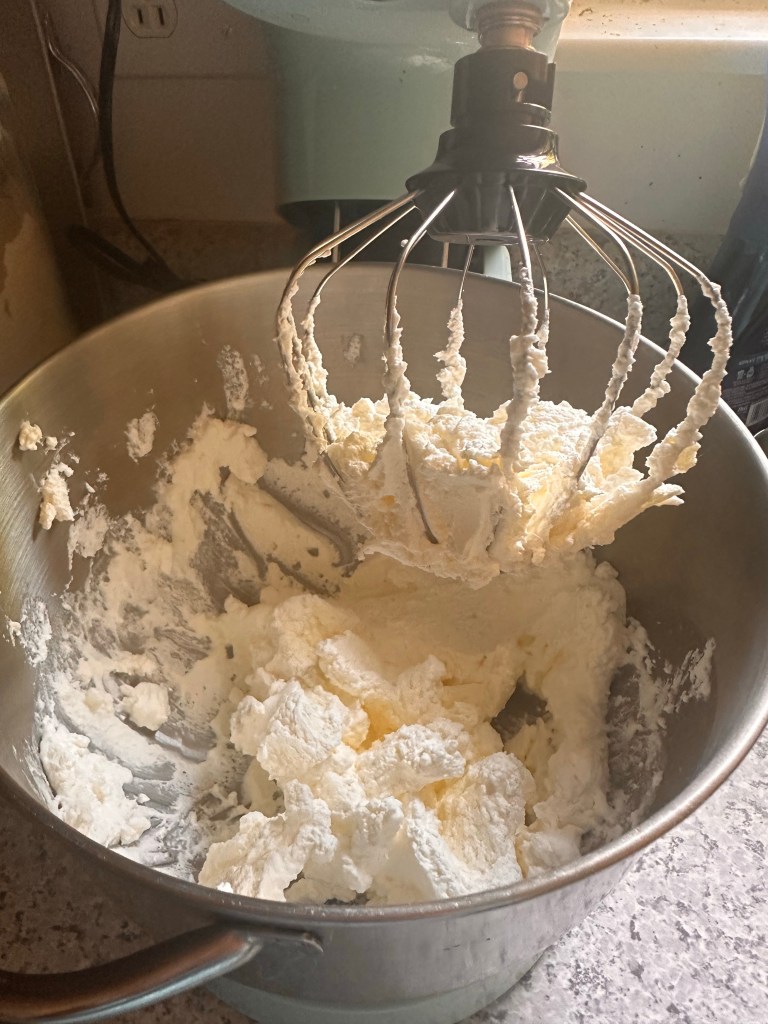
This is the stage where you could stop and add powdered sugar and have some yummy whipped cream.
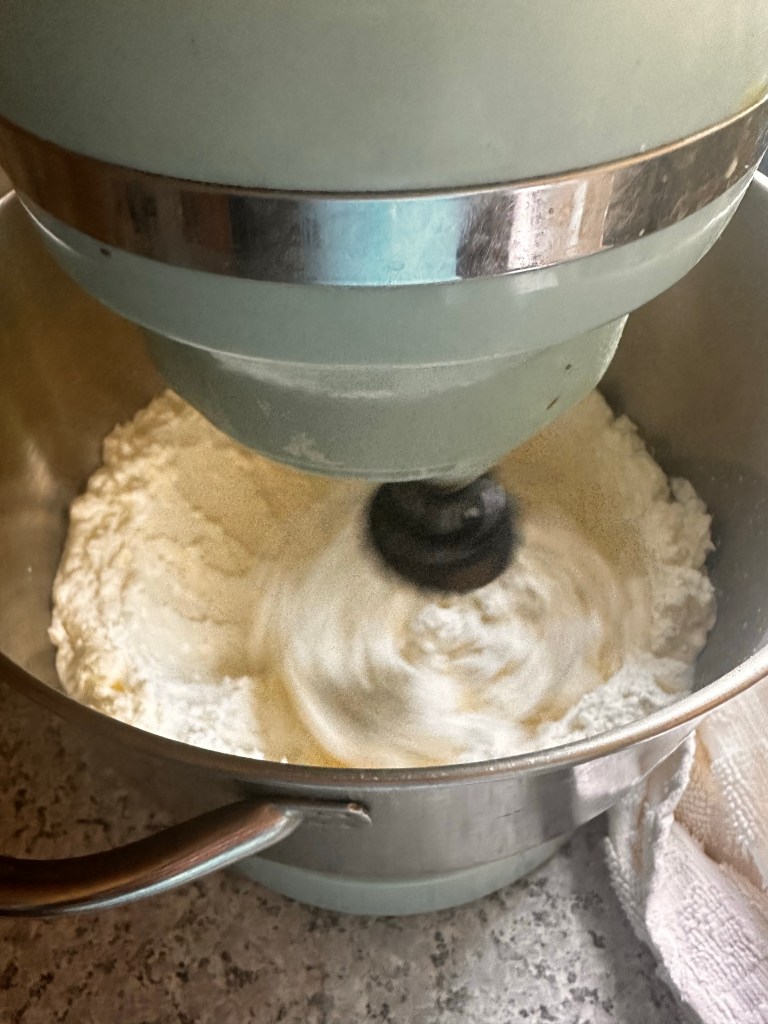

Soon liquid will appear, this is buttermilk and you need to drain it off. You then scoop the butter and put it in a bowl of ice water. This will rinse the butter of any remaining cream that could cause the butter to become rancid.
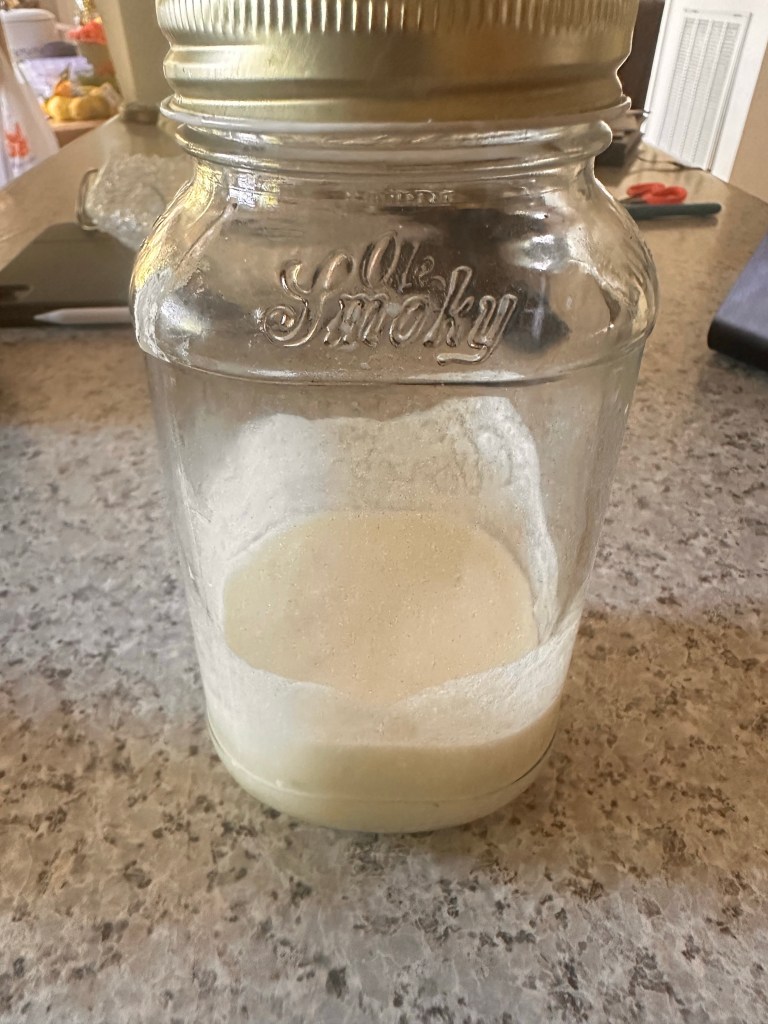
You can use this buttermilk for making biscuits or pancakes.
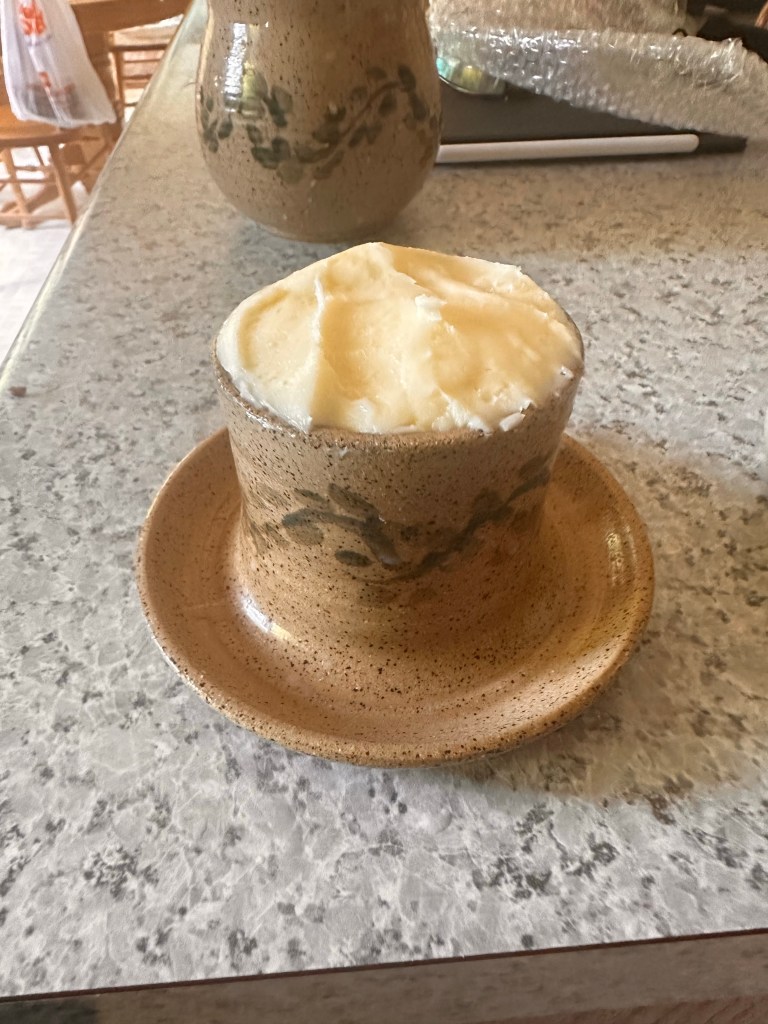
I patted the butter out and added some sea salt. You can add any herbs or flavoring you like. It fit perfectly in my butter bell. I was very happy with it. It is so creamy and delicious. But I will say it it a bit of a messy process.
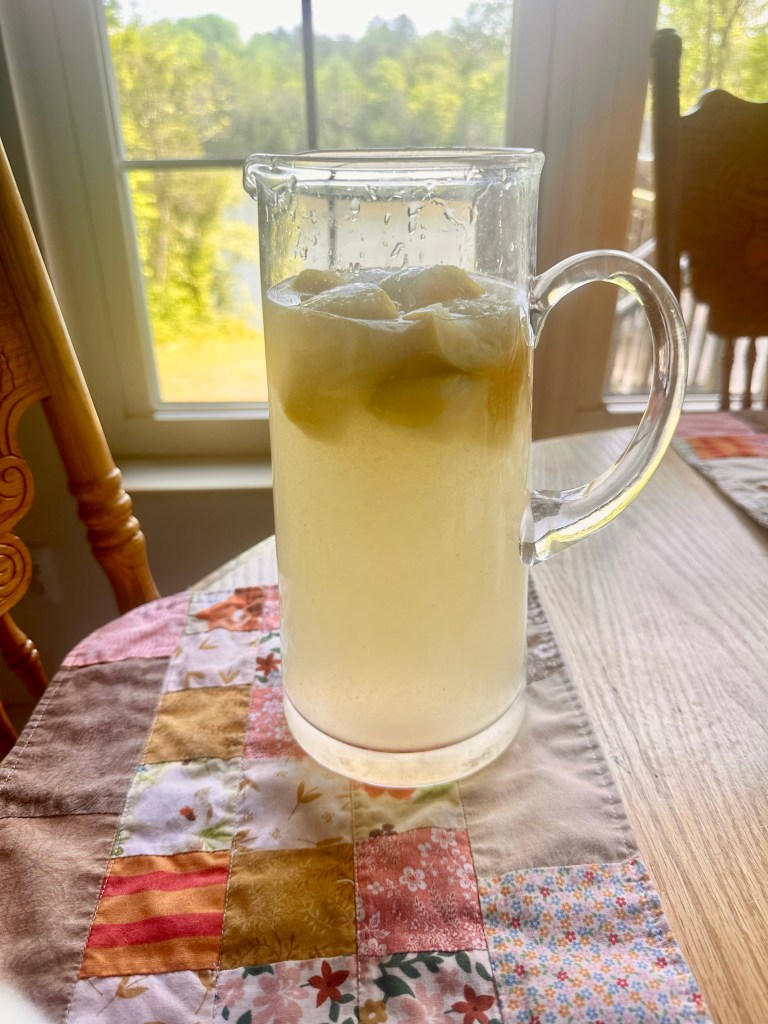
I also made some lemonade on Sunday. I had a bag of lemons that needed to be used. It was great with some toast and fresh butter.
I leave you with a picture of Millie my porch goose sporting her Easter outfit that I crocheted for her a couple of weeks ago.

Have a great week and always remember:
Love your day your way!!!!!